About a month ago I blogged about Installing SOLR 7.2.1 (on prem) for Sitecore 9.1. That post used the JAVA runtime (JRE) to be installed.
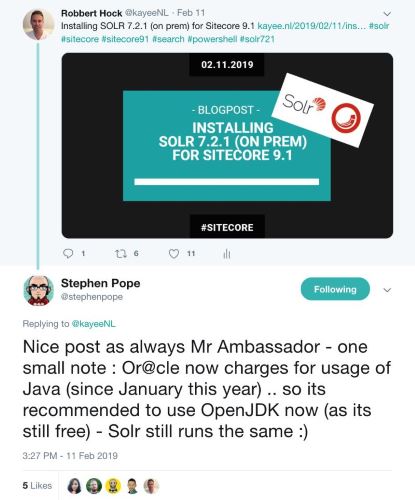
When I tweeted about my blogpost (to get a little bit of attention and sharing it with the community ;-), Sitecore Architect Stephen Pope responded in the following manner (see image).
Oracle charging for JAVA
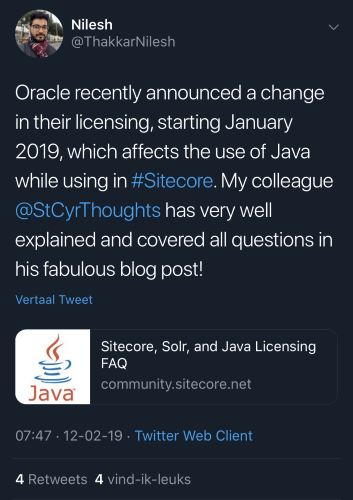
I already knew that Oracle recently announced a change in their licensing, starting January 2019, which affects the use of Java in specific scenarios. You can also read more about it here: Oracle Will Charge for Java Starting in 2019.
Sitecore itself actually wrote a FAQ post on it: Sitecore, Solr, and Java Licensing FAQ. In that post one of the proposed options is to “Migrate to the open source (OpenJDK) version of Java”.
In this post I would like to walk you through the process I went through in order to install SOLR 7.3.1 (even though 7.2.1 is needed for installing Sitecore 9.1, I found out that in combination with OpenJDK we actually need 7.3.1).
In the end it’s basically not changing very much compared to the previous blogpost, only some slight changes in the pre-requisites and the final Powershell script. So let’s go!
OpenJDK Install
So what I started with was to get OpenJDK installed, and then have that working with the recommend version for Sitecore 9.1: SOLR 7.2.1.
So we first need to make sure that we have the OpenJDK installed. OpenJDK (Open Java Development Kit) is a free and open-source implementation of the Java platform. As said in my previous blogpost, I’m using Chocolatey as my software automation tool.
Chocolatey is a package manager for Windows which allows you do quickly automate software installations. If you haven’t already installed it, make sure you install it here. Once installed make sure you open up a command prompt or Powershell prompt and run the following command:
- choco install openjdk
This will make sure that the latest version of the OpenJDK gets installed onto your local machine. The JAVA_HOME path variable gets added with a path of: C:\Program Files\OpenJDK\jdk-11.0.2.
With that in place I thought it was basically adjusting the Jeremy Davis script from his low-effort-solr-installs blog-post, but now with changes to the OpenJDK installation path:
- So instead of having $JREVersion = “1.8.0_201”, we now adjust that to $OpenJDKVersion = “11.0.2”.
- And instead of having $JREPath = “C:\Program Files\Java\jre$JREVersion”, we now adjust that to $JREPath = “C:\Program Files\OpenJDK\jdk-$OpenJDKVersion”.
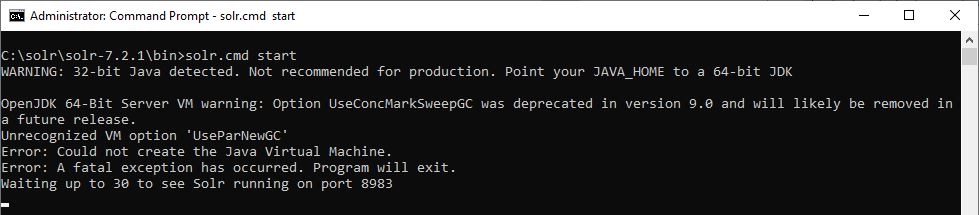
But apparently that was not it entirely. When I ran the adjusted script I found out that the script was failing when the automatic script wants to start the SOLR service automatically for you and fire it up. So here’s where all the troubles started and where I ran into problems. Apparently when we run: solr.cmd start, the batch file checks for a specific major JAVA version and it throws the following error and it won’t start the service.

As Johannes Zijlstra already said in one of his blog-posts: Sooo… Yeah. Clearly 1.8 is way higher than 10.0.1. Makes sense. (In my case 11.0.2 ;-)). Apparently what solr.cmd start (for version 7.2.1 and below) does is a check if the Java Major Version is at least version 8, it our case with OpenJDK 12.0.2, it results into zero (0), which is less than 8 of course.
IF !JAVA_MAJOR_VERSION! LSS 8 (
set “SCRIPT_ERROR=Java 1.8 or later is required to run Solr. Current Java version is: !JAVA_VERSION_INFO!”
goto err
)
Since I want people (myself included) to have no additional manual steps when they run the Solr install with OpenJDK Powershell script, I thought about changing that check and adjust the existing solr.cmd that comes out of the box from the 7.2.1 version of SOLR. So I made some changes to the solr.cmd script, where I checked that if we have OpenJDK installed and at least have version 11 installed, then it will continue the process of starting up the SOLR service. But then I ran into other problems. Which I could only see when actually having a command prompt open and ran the following:
- solr.cmd start
When commenting out that ‘UseParNewGC’ in the solr.cmd script I ran into the following Unrecognized VM option ‘PrintHeapAtGC’. From there it was VM option after VM option message.
Since that didn’t work I ran into this thread, where someone stated the following:
Java 10 is in process of being verified to work with Solr, see this JIRA in the 7.3.1 release notes: SOLR-12141: Fix “bin/solr” shell scripts (Windows/Linux/Mac) to correctly detect major Java version and use numerical version comparison to enforce minimum requirements.
Also remove obsolete “UseParNewGC” option. This allows to start Solr with Java 10 or later. (Uwe Schindler)
In the Lucene / SOLR git repo you can actually see the commit and changes for the ticket: Solr does not start on Windows and Linux/Mac with Java 10 or later
From there it pointed me to have a look at SOLR 7.3.1 in combination with OpenJDK, so I fixed the SOLR version in the Install-Solr-OpenJDK.ps1 script from 7.2.1 to 7.3.1, and that did the trick for me.

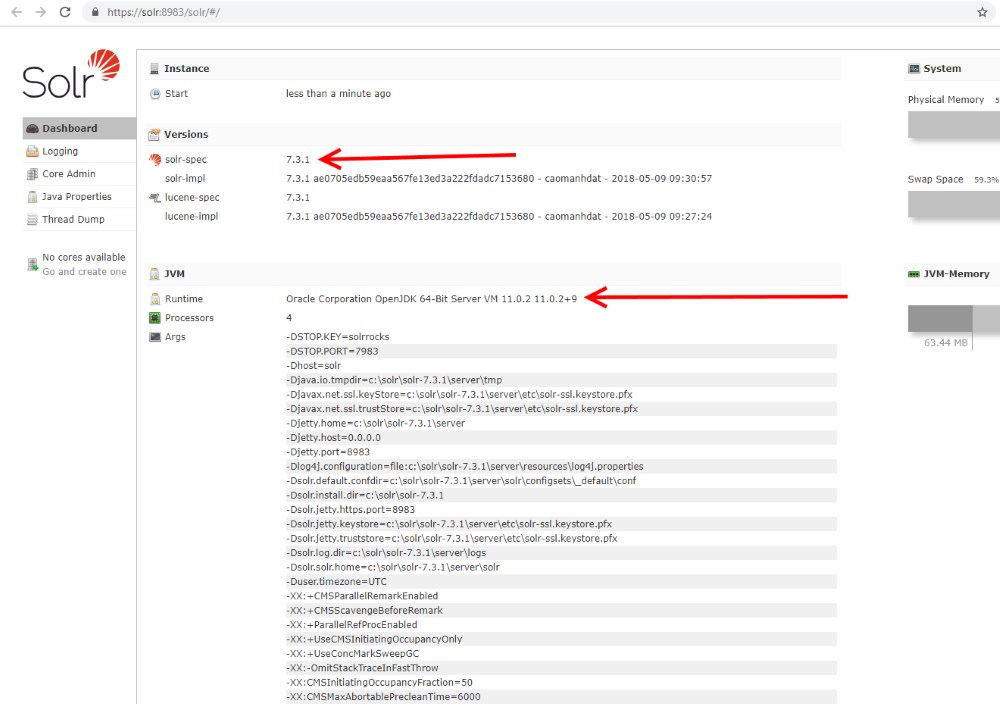
When the script finished SOLR 7.3.1 got installed as expected (see screenshot below)
You can download the final Install-Solr-OpenJDK.ps1 script here. If you possibly install your local Sitecore 9.1 instance with SIF-Less 2.0, make sure to adjust the version of the Solr service and the pre-validity check of the Solr version from 7.2.1 to 7.3.1 or it will throw you some errors 😉
If you want to know which version of Java is installed you can always run the following command:
- java -version
Happy Sitecore-ing…


